
I got this soup idea from one my friend Jess made for me. It's so simple and delicious. We arrived for dinner one night and she had just thrown everything into a pot. By the time we were ready to sit down it was ready to be pureed and we had a bright, fresh soup course (she's so good with the courses! I never do that). The squeeze of lemon really makes a difference.We changed the pasta from bowties to tortellini to make it hearty enough for dinner. It would be very easy to make this even heartier (add chopped chicken) or vegan (go back to the bowties).
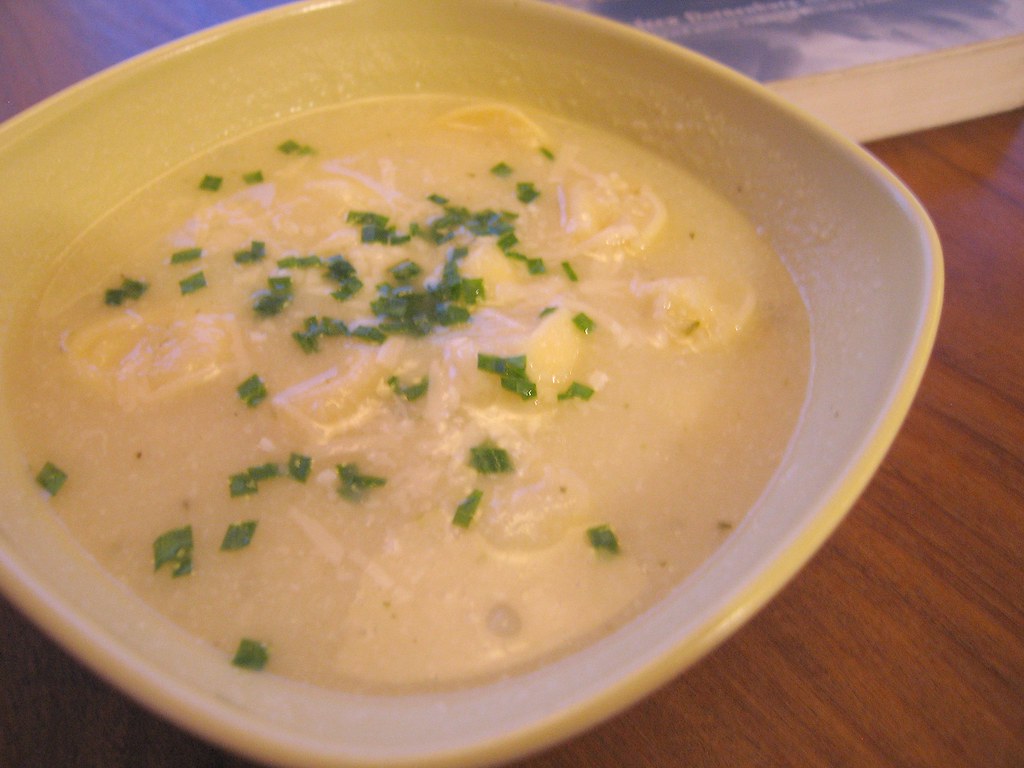
Cauliflower & Tortellini Soup
serves 4
1 onion, roughly chopped
4 cloves garlic, roughly chopped
1 medium cauliflower, roughly chopped
2 medium-sized russet potatoes, peeled and roughly chopped
6 to 8 cups vegetable or chicken stock
1 bay leaf
1 t fresh thyme
pinch of nutmeg
salt & pepper to taste (always)
rind from a piece of parmesan (optional - it's just for extra flavor)
juice of 1 lemon
1/2 cup grated parmesan cheese
1 10oz package of tortellini (or other pasta)
- As with almost every recipe I make, start by sauteing the onion in a few tablespoons of olive oil in the bottom of a medium soup pot. When the onion has just started to brown, add the garlic and continue until it just starts to brown.
- Pour in half of the stock to stop the browning, then add the potatoes and and cauliflower. Add stock just to cover everything.
- Stir in the bay, thyme, nutmeg, salt & pepper, and parm rind and bring to a low simmer. Let it bubble for about half an hour, stirring occassionally.
- After about ten minutes I start the water for the tortellini (just cook it according to the package). It would be nice if you could cook pasta in soup, but I've never had good results with that. If the tortellini is done before the soup, be sure to toss it with a little butter so it doesn't stick together.
- After the 30 minutes the potatoes and cauliflower should be falling apart. Fish out the bay leaf and the parm rind. Puree it with an immersion blender or let it cool just a bit so you can blend it in batches in food processor.
- Stir in the grated parm, lemon juice, and the cooked tortellini. Done!


